

How To Tune Venom 2 Brakes
It has always been my practice to do my own maintenance or installation on any vehicle that I own. Doing so helps me to fully utilize my time and also save the extra cost that’s being charged by the workshop. The same practice also applies to my Venom 2 ebike. In this article, I will share with you how to tune the Venom 2 brakes on your own. This can also apply to the Venom 2+ as they may be using the same brake calipers.
Tools Needed

There are no complex tools required to tune the Venom 2 brakes. A set of long hex keys will do the job. Be sure to get the long hex key set with the ball end.
The long end will help to reach into hard-to-reach areas whereas the ball end allows you to tighten or loosen any screws from a tilted angle.
Consider it as a one-time small investment. The long hex keys can also be used for your home or your motorcycle or car should you choose to upgrade in the near future. So be sure to get one for yourself, you’ve got nothing to lose.
Proper Location
As the Venom 2 brake calipers are small, doing your maintenance in a well-lit area helps a lot. Alternatively, you may choose to use the torchlight from your mobile phone to see if your Venom 2 brakes are tuned correctly.
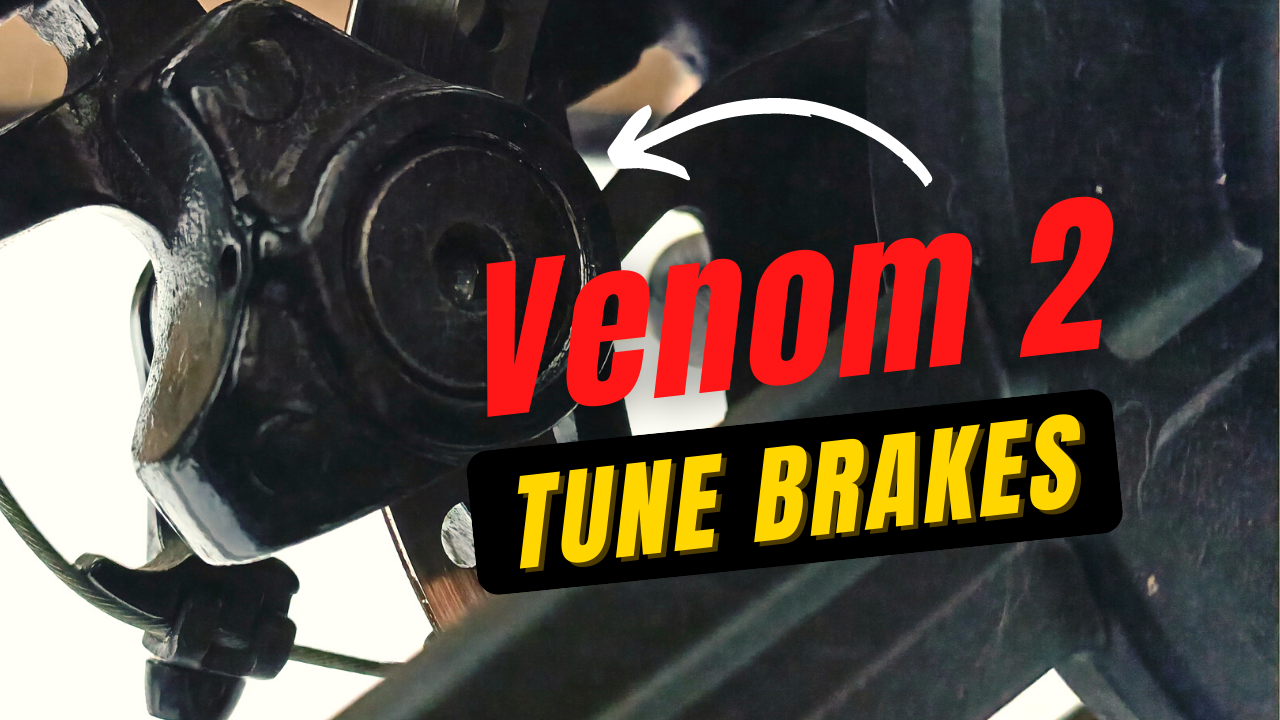
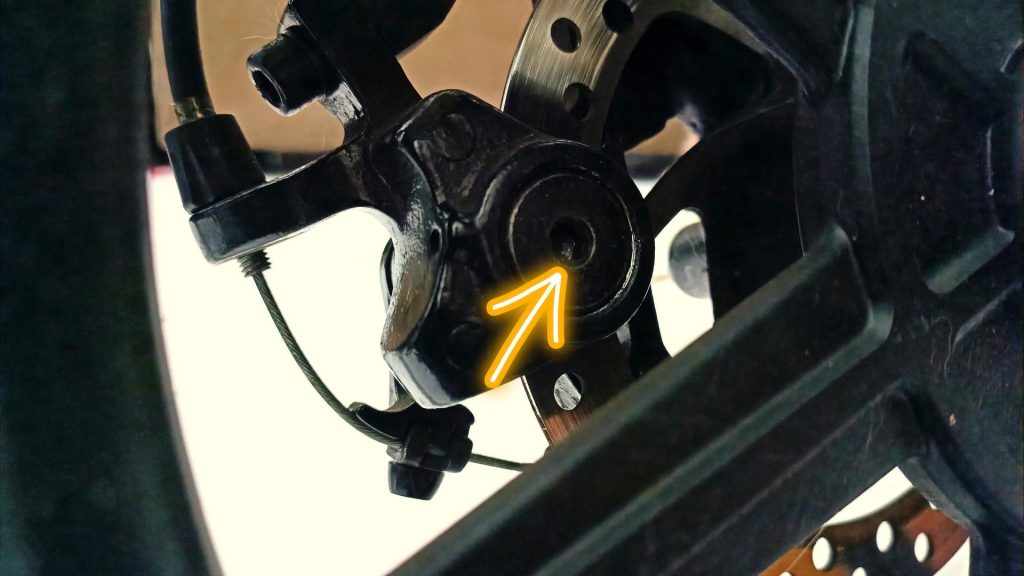
Tuning Knob
Before you start meddling with the wrong stuff, it’s good to know where the tuning knob is. I’ve taken a couple of images to show you. The arrow shows you where you will be inserting the long end of the hex key.
Tuning The Venom 2 Brakes
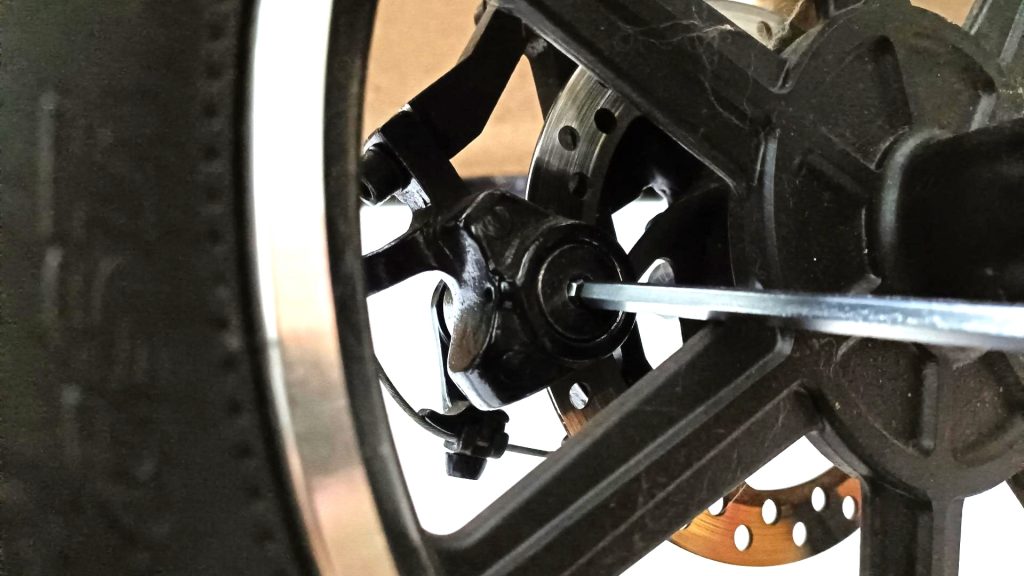
Tuning the Venom 2 brakes has to be done from the right side of the ebike and through the spokes of the wheels. That’s the reason for the long hex key. There’s another thing that needs to be taken into consideration as well when tuning the Venom 2 brakes.
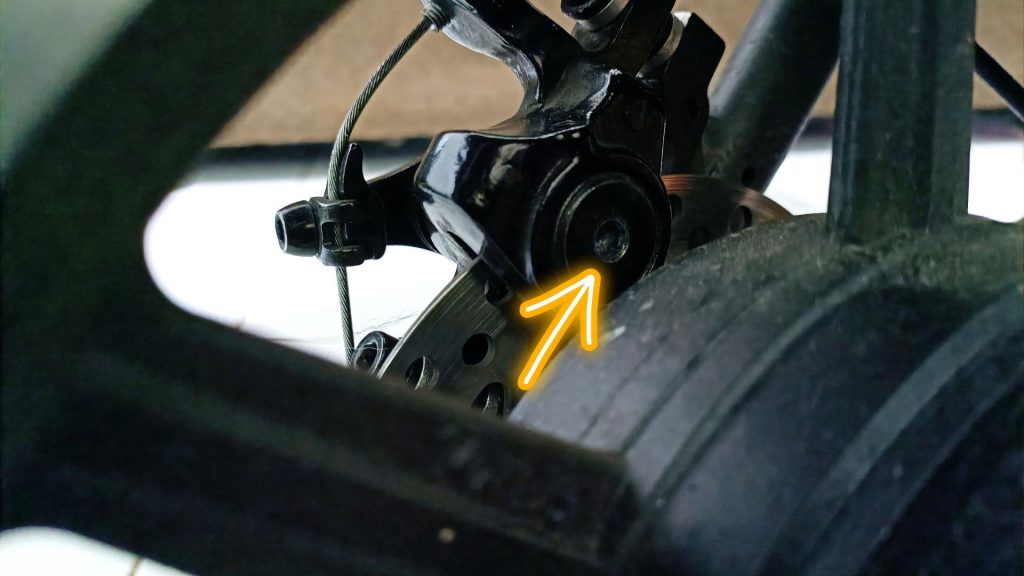
Before I explain further, allow me to clarify the part of the wheel to avoid confusion. The part of the wheel that attaches to the axle is called a wheel hub. The part that attaches the rim, where your tyre is, to the wheel hub is called a spoke.
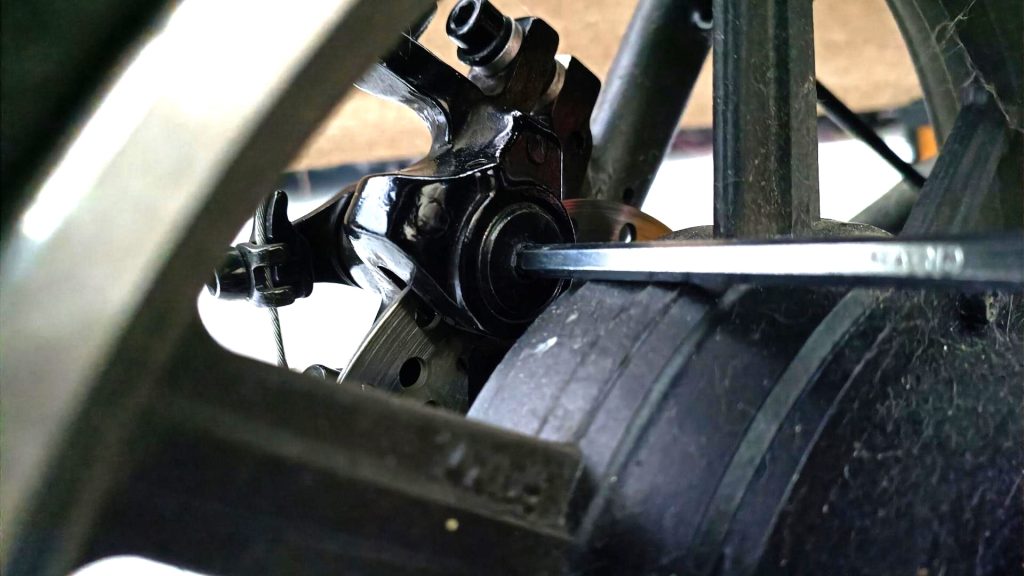
In the image above, you can see that the front wheel hub is smaller than the rear wheel hub. The rear wheel hub houses the motor for the Venom 2. thus the reason why it’s bigger.
So when tuning the Venom 2 brakes for the front wheel, you may get away with using a small hex key. However, when tuning the brakes for the rear wheel, you will face great difficulty using a small hex key.
Tuning the Venom 2 brakes is easy. Facing the tuning knob, turn the hex key to the right or clockwise to bring the brake pads closer to the brake disc. Turn the hex key to the left or anti-clockwise, to bring the brake pads away from the brake disc.
Safety Checks
It is always important to conduct safety checks after you have completed your maintenance. This is to ensure that the Venom 2 brakes are working effectively.
Safety checks are also done to ensure that the brake pads are not too close to the brake disc which results in difficulty when pushing or reversing the ebike.
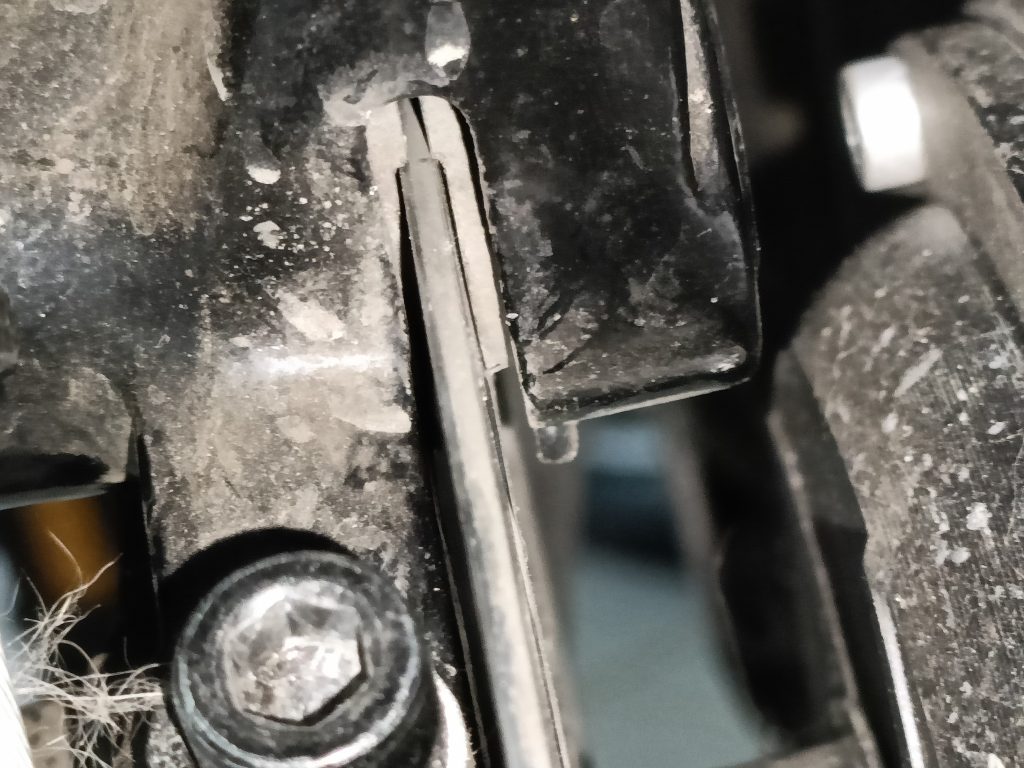
Pardon the dirty image. This is what a properly tuned Venom 2 brake looks like. There should be at least a 1mm gap between the brake pad and the brake disc. With this setting, I would only need to tap or give a slight squeeze on the brake lever for the brakes to be effective.
The braking distance at this setting is an estimate of about 1m. The braking distance mentioned is based on my traveling at mode 3 for the Venom 2 and at a peak speed of 25km/h.
I hope this article gives you a clear picture of how to tune your Venom 2 brakes. The video will be coming out soon. Do look out for it at the bottom of this article.
Until then, see you guys in my next post or video!